It’s one thing to do sweet dyno pulls and post graphs that look cool, and I was excited to do that. But ultimately I’d like to sell these as a functional part to the masses that crave them. For that I have to actually test these in the real world. By trade I’m a metal crafting person and don’t know anything about rubber other than things are sometimes made of it. That is not a deep or working knowledge to start creating parts but that has never stopped me before.
When I first started this I just googled urethane rubber and eventually found a place that sold a 2 part urethane that seemed promising. I was immediately in over my head on this so I couldn’t answer basic questions like hardness or material types. I found a chart that equated a durometer-shore rating (that rates how hard the rubber is) to a physical object. Finally a chart I could read. I went with pencil erasure for my first test.
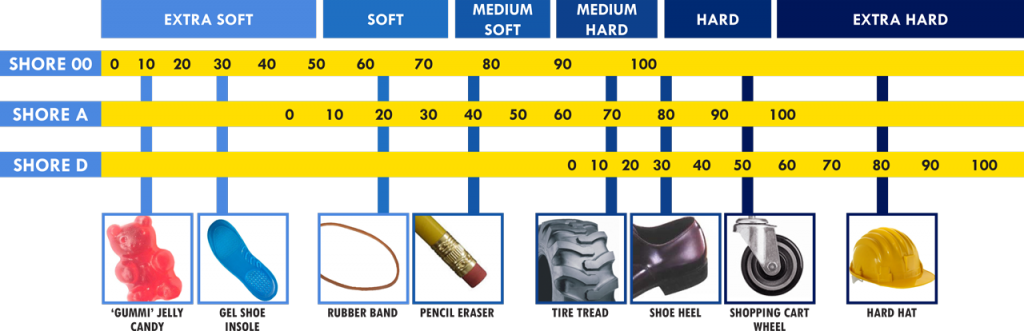
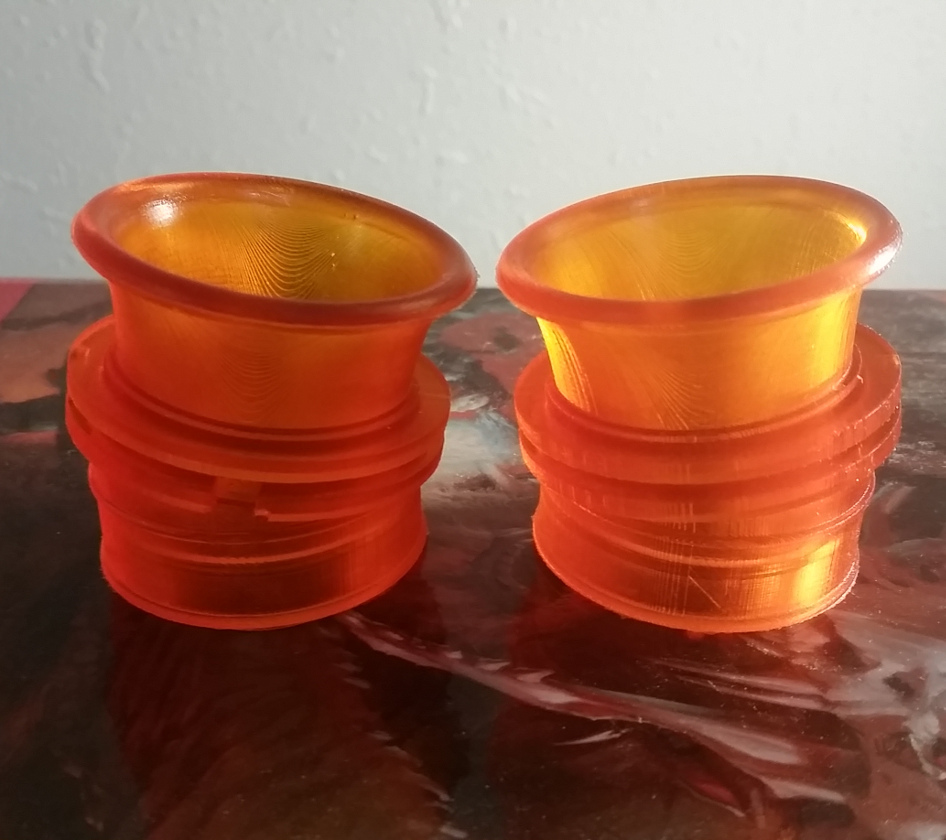
I didn’t know what I was doing for the first attempt so that it worked at all was great. Rarely does a new endeavor go this smoothly and it really helps with confidence in the project when it does. The very first part I molded looked just like it was supposed to. It was just way too soft to work. I did mount it up and test ride it but it was never going to work. The material I chose was from a company called Smooth-On and was called VytaFlex 40A. They produce this product in a range from 10 to 60 hardness (less than rubber band to less than tire tread if you are following the chart). I bought the VytaFlex 60A next along with some orange dye and tried again. This was still too soft to use but that was the hardest in that range. I switched to the Econ 80A and finally had a part that was rigid enough to hold onto the airbox and not crush under the hose clamp during attachment. After some process fiddling (see previous articles about those details ) there was a part I could test.
Then I messed up. I was working on this project in my workspace outside. At outside temperatures in the fall. I had one mold and one pressure pot so I could only make one part at a time. The rubber has a pot life of 20 minutes or so once mixed, that means once the two parts combine I have a short window of time before it become too hard to work with. The time before I could demold it was 6 hours and it took 24 hours to cure fully. I was basically making one a day. Then I left the lids off the bottles one night, outside in the cold shed. Now you would think I would be better at reading directions than I am, and you would usually be right. I know it said it should be used quickly after first opening and it worked best at 70 degrees but I didn’t follow those instructions. Or even really remember they were there. So when I realized I left the lids off for an entire day I figured it would be fine and mixed another to pour. Haha, whoops. The first one I made after being left open was softer than usual, but the next one? Complete failure, it was just sticky goo and never set. I moved my setup inside after that and was very careful to close the lids right after pouring into the mixing cup. I ordered more and tried again.
At this point I still don’t know anything about rubber other than it do it inside and keep lids on the bottles. Basic facts like how it reacts to heat, cold, gasoline, ethanol, vibrations, you know, details. So I made a handful and gave them out to people I know around town and some out of town that have these bikes and waited. I also put one part in a jar with 2 stroke just to make sure they don’t just dissolve after a month. I had a failure within the first week. I realized when I moved from the 60 hardness to the 80 hardness I didn’t read close enough and was mixing the rubber to the wrong proportions. I replaced those with correctly mixed rubber and it was much improved. My next failure took a month instead. Specifically when I was testing on the dyno. Luckily I had a spare in my pocket or I would have had to cut the day short. I ended up redoing some runs because I wasn’t sure when the part had ripped and I didn’t know if it wrecked the data or not.
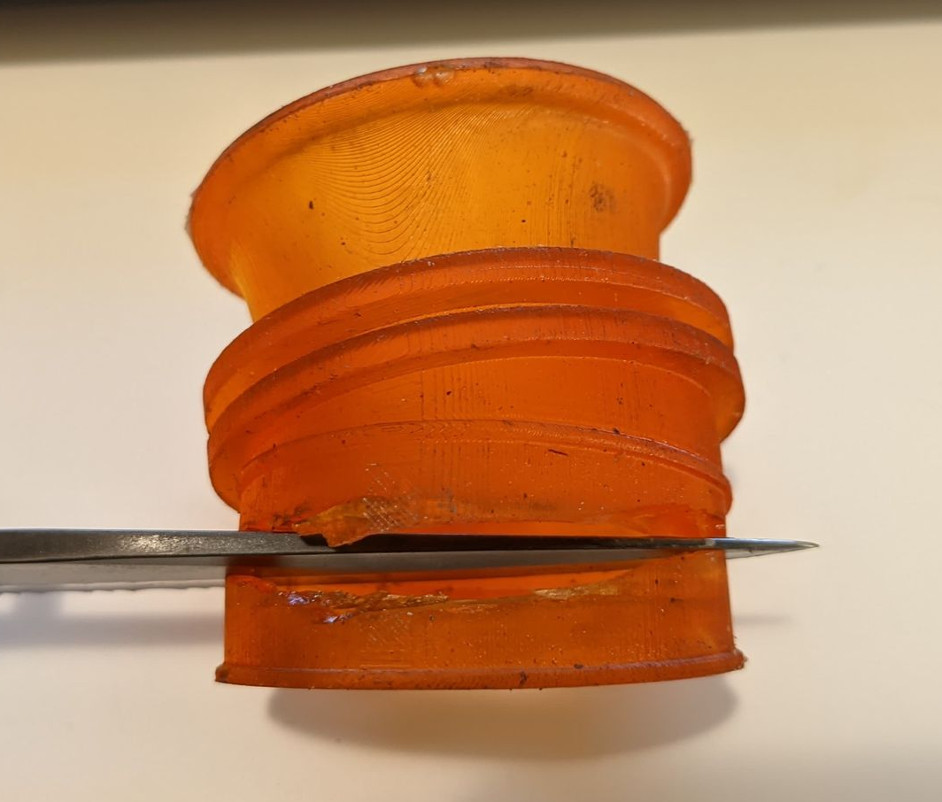
I had started long term testing after including the pressure pot into the equation. I contacted people I knew with stock Tomos and sent them the part with instructions. The goal was pretty simple really. How long until they failed in the wild. The general consensus was 1 month. Then they ripped at the clamp. I had a couple fail on me in the wild before my own failed on dyno day so with that I had to find a better compound.
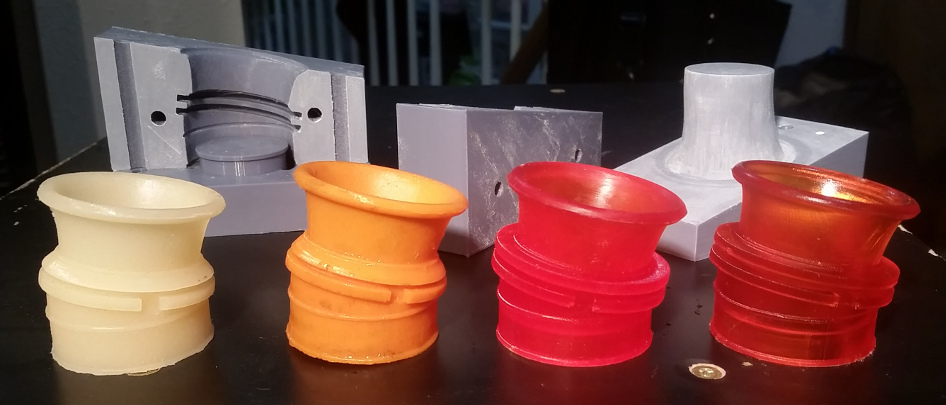
This time I decided to try and be slightly smarter and I emailed the company and asked what they recommended. They were very helpful and pointed me toward a different urethane called PMC-780 Dry. This material takes 48 hours to cure in the molds and has to be baked afterward for 4-6 hours to fully cure. This was a major increase in cycle time but the final product felt so much better than the previous materials. This is where I am now. Long term testing this material. I don’t have a definitive answer as to how long to test for but I figure if these don’t rip in a couple of months of use on bikes that get ridden regularly then they might just make it. 3 out of the first 8 test parts I had sent out failed within a month so shooting for better than that. Low bars I know but it’s all learning. If it takes switching to a couple more rubber compounds before I get it right then so be it. I just want a quality product, is that so much to ask?
Great Reading! Nice Work, Jesse!