So the project started out as a friend of a friends first maxi. I went with them on the original purchase and said it was a good base to start with, they picked it up, and started fixing it themselves. It was a 1hp restricted E-50 maxi missing the intake and carb so I suggested getting a clone 15 Bing, real Bing brass, the nicer treats 15mm intake (#1 grandpa), and the 44mm 2-port Airsal kit. The first kit they installed didn’t last very long so they asked me if I could just do it for some money and off we went.
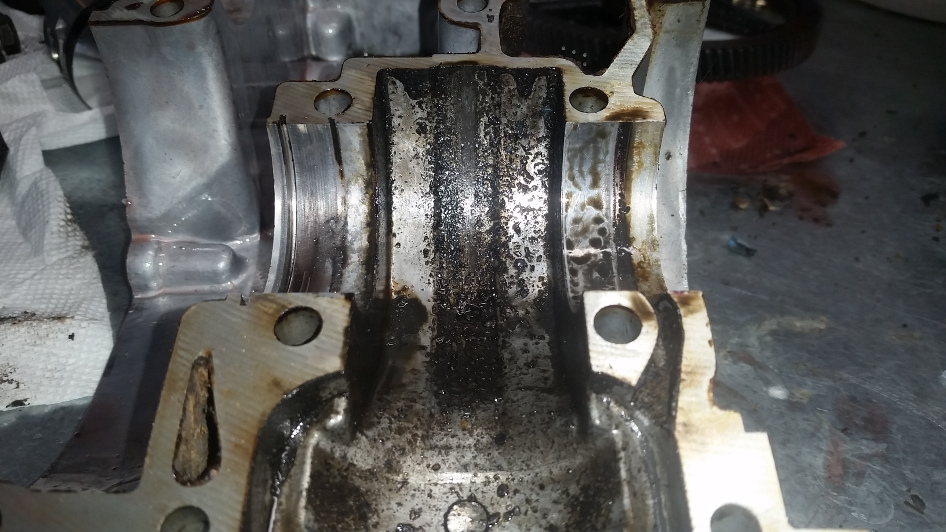
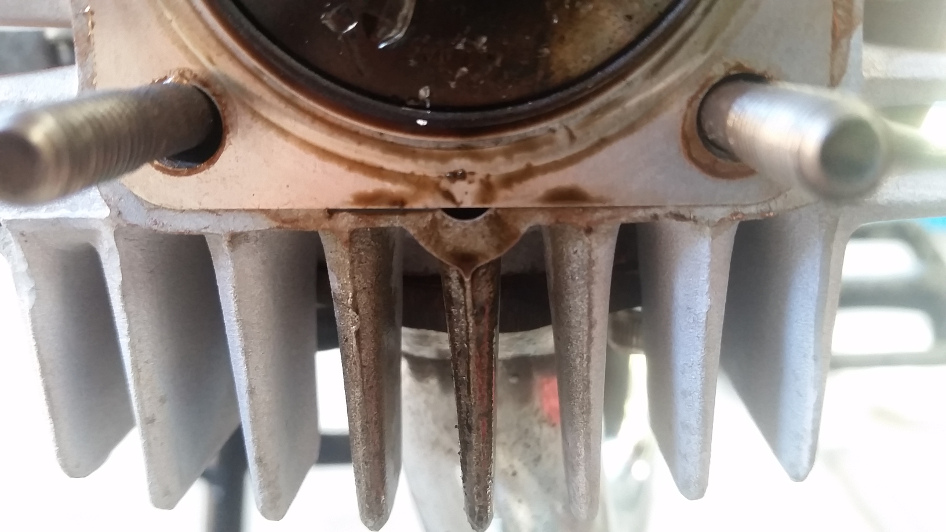
They had installed a second kit but quickly there was a horrible banging noise. That’s what I recieved. Turns out the stock crank big end bushing was just spitting junk everywhere. Chunks of the failed bushing on the crank were spitting out into the engine and probably took out the first kit. The second kit was still in good shape upon tear down though. A close inspection also showed the stock low comp head had been slightly touching the piston at tdc so that had to go as well. All the other stock parts on the motor looks factory perfect with no signs of wear at all so the plan was to reuse all of them.
A quick jump on treats told me all the normal cranks were sold out but they still had the 44mm stroked crank. I’ve been dying to try one so we ordered it up with the bearing/seal kit they offer. The stroker interested me because it’s cheap and with the piston also being 44mm it made a perfect square bore/stroke ratio. That’s something I think is neat from a nerd perspective. The kit comes with a 1mm spacer plate for the base too.
After a quick clean and an even quicker port match to the cylinder (It was shaped well with plenty of case meat to seal around the bolts but other than a dremel sanding I didn’t get wild with the polishing and smoothing because in my experience the return of investment is not noticeable) I threw the bottom end together and started to see what the stroke was doing to the port times. With no base gaskets and only the supplied 1mm shim from the kit the port times were intake: 150deg, transfer: 118deg, exhaust: 170deg and a blowdown of 25deg. The piston had a 0.000″ deck height at tdc as well. This was enough to tell me the motor should make good power starting around 4500rpm and could stretch easily to 10k if tuned right. Anyways I was happy with the port times and shapes for what this motor was supposed to be and left the cylinder and piston unmodified. I checked the ring gap but honestly the cut most of the gaps so big on these cheap kits to keep you from deucing them that you rarely have to widen them (and you sure can’t get the smaller). The fitment of the wrist pin bearing width was good for the 44mm piston so that was kept too. It’s very common with the 70cc kits to have to use the wider Wiseco 16.3mm needle bearing to keep the needles alive so always check to be sure.
I had a Treats hi comp 45mm o-ring head sitting around so that was what was going on it. The problem is that a lot of moped heads have too much compression and are rarely checked, so I knew this was going to be something to deal with once I got the motor running. The boss pipe we were running is not a hard hitting pipe but you have to be careful about the compression and work around it. The plan was to start with one 0.3mm gasket and see where the squish was and after adjust based on measured pressure. The correct solution is to reprofile the combustion chamber but that takes a lathe to do properly. I was ruling out machining the head to get the correct head volume for this build because I wanted to see how hard this build was to do with basic at home tools with no part modification.
Nothing really of note for the rest of the engine build. I left the stock 2-shoe completely stock because it’s not worth trying to do anything with them (don’t @ me). The only thing I did was leave the starter plate clip ring out because they fall out and wreck the trans and they don’t need to be there anyways (the clutch cover holds it in fine, it’s just a time bomb). Ignition timing was set at 16 deg btdc.
The one weird issue with this bike is the stock 12:48 gearing. That sucks, but also I didn’t have another rear sprocket so that was staying. I did some quick math and with a 16T front 10k rpm was good for 43.5mph and that seemed perfect so that’s what we went with.
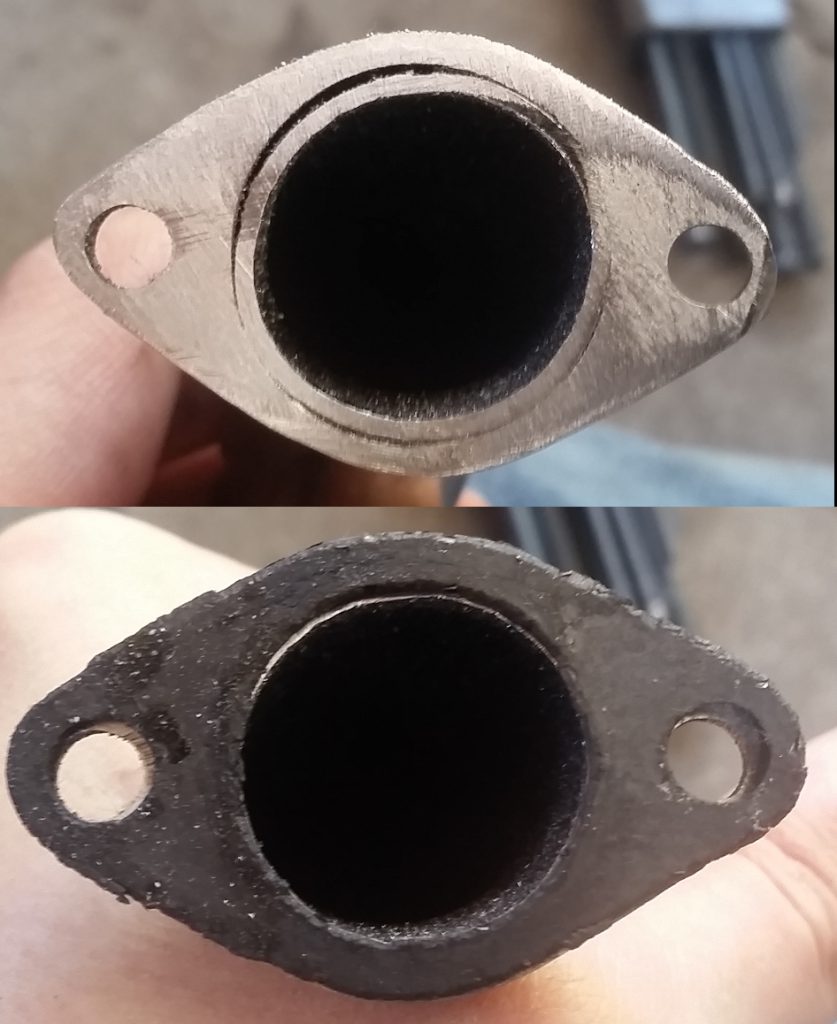
The carb setup was a 15mm clone bing carb, 1.17 atomizer, no. 24 slide, single ring needle, 82 (maybe who knows ) main jet. and the usual foam filter. Exhaust was a techno boss, which is a good cheap pipe but goddamn is the fitment terrible. So spent about 2 hours total getting it to fit correctly. Using a grinder I trimmed the flange down to the shape of the supplied gasket so it would sit correctly on the exhaust, file the flange actually flat, then grinding down the welds down so the bolts don’t land on them and bend the exhaust bolts. Finally I used an oxy torch to heat the header up and bent it to fit the rear pipe mount. After about 2 hours it finally fit with no tension. It ran perfectly leak free for the first tank of gas so it’ll should be fine now.
Once everything was up and assembled again it was time to start tuning it. The rest of the frame went through a lot of maintenance and repair but it’s boring so I’ll skip it (rebuilt wheels are your friends, do it right, it’s not hard, you don’t need sealed bearings). First start was easy, things seemed responsive and functional so a test ride followed, I threw a TTO tach and head temp gauge on for good measure. The first big thing I noticed was a weird jump in throttle response about 1/4 to 1/3 up the needle so a check to see what’s up revealed the 1 ring slide needle is much leaner than the 2 ring needle so that was swapped out and it gave a very smooth, responsive transition after that. That allowed me to go on a longer test ride where I noticed the standard high rpm pinging and loss of power from heat soak.
I hooked up the standard (aka, cheap as dirt) compression tester to the warmed up motor and was watching the gauge while I pedaled. It was rising pretty hard and hit 200 before the damn thing broke and threw the one way valve into the motor. Luckily this didn’t hurt the piston or the head much, but I had to take the head off to clean it out so I put another 0.5mm of head gaskets on there and bolted it back down. The next test ride the power was much smoother, no pinging at temp, no power loss as the motor heated up, and no rapid heat rise under load. So great strides really. On flat I was hitting about 9k rpms, a little short of my prediction. Testing the compression this time gave me about 170psi but under a long run the temps still rose a quicker than I wanted them to so I put another 0.3mm head gasket in (total 1mm of gasket).

The next test ride was much better, the lower compression let the motor wind out further and was able to hit 10k rpm without much trouble and lower temps as well. Knowing that this was probably my sweet spot for compression and the jetting was still rich I decided to advance the ignition 2 deg. to see how it responded. It ran better, more power but also started to heat fade after about 20 minutes and the temps were getting close to 400 now so I went back to 16. It felt like I got the most out of that without loser power over the longer ride, keeping me in that safer zone.
The final bit was jetting and I already know Bing jetting is difficult because the jet orifice does not match very well to the number on the side. I had a jet that worked but was rich a little so I used a set of indexed drill bits to find the next size jet down. (you can buy these from online pretty cheap, often called jet drills but they are actually numbered index drill bits, standard machining tool, come in a small box, about 0.001″ diameter offsets, insert them stem first to gauge the hole, not twist side to keep from actually removing material). And afternoon of messing around with stupid Bing jets with bad markings I ended up using one that pin gauged at between a #70 and #69, (0.028″-0.0292″) next size up was very boggy and the next size down was really anemic while this gave a good strong throttle response and feel. The jet was marked Bing 82, but I also had another jet marked with the Bing symbol and 82 and it was .030″ so it’s all garbage all the way down.
At the end I had a nice running, mildly quick, simple engine that would pull a hill, run 365F max, with no leaks anywhere that could be ridden daily with no real issues. It had good pickup over 5k rpms and stretched out to about 10.5k rpm on flat ground, netting a 45-46mph top speed. It’s not crazy fast but for the parts in it and with very little modification out of the box (only a simple but clean case match). For a cheap 2 transfer port cylinder with no porting those are great rpms numbers
The moral here is there is a lot of little stuff to tuning and a lot of feel. There is a lot of power in simple builds if you can learn to follow the clues on how to get it out. If you have a clear path, do some research, and work methodically you can get to that power in less time too. Also ya’ll need to buy compression testers and use them, lots of lost power from too much compression and compensating with big jets and low ignition timing.
This would be an easy build to replicate as described and if anyone does I’d love to hear about it how it goes. Anyways have fun out there wrenching everyone!