So I don’t know if this is a thing other people do, or what they call it, but I do it and I call them this. So let’s start there. Dummy bearings are normal bearings that have been ground down to slide into the location where they normally go. I use them for test assembling motors and transmissions and to measure end play, practice assembling components, part fitment, or any other reason you would want to test assemble a motor.
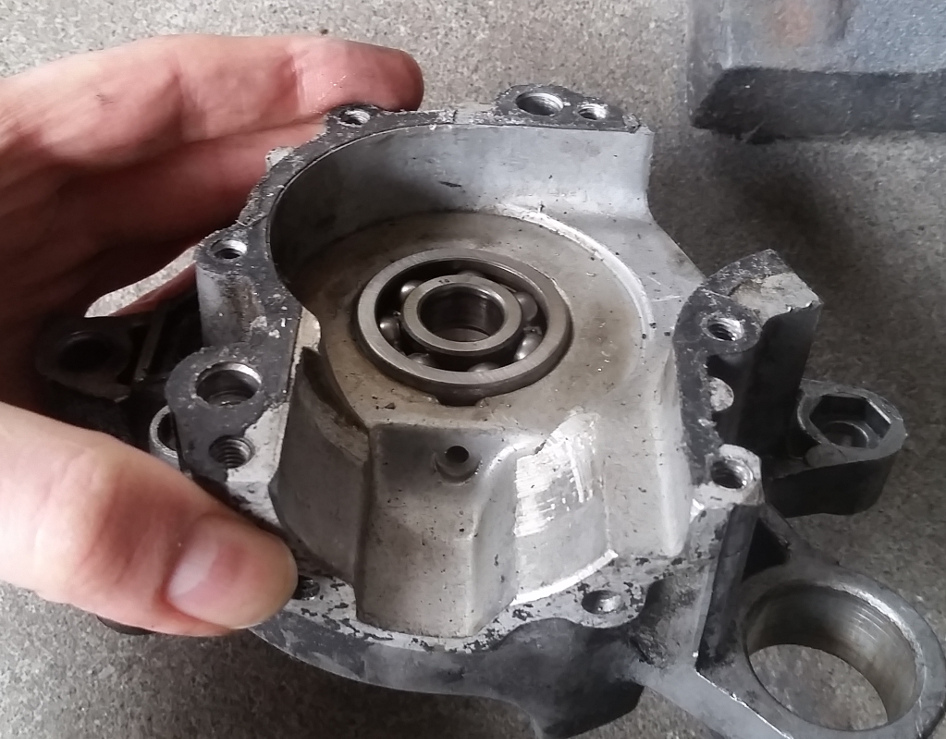
Today I was needing to figure out how to modify a hobbit case so that I can fit a malossi multivar with a moby crank in the case. Ok, so that sounds complicated to measure, but it will be much easier if I make some dummy bearings!
First step was pulling apart a spare moby motor I had sitting around. I needed a moby crank and the bearings for fitment. I already know that a moby bearing outside diameter fit in a hobbit case but when the crank is installed the multivar won’t fit all the way down before it hits the case. I need to figure out how much of the case I need to remove to get clearance. I’m going to have to install the crank into the case multiple times to measure and then put back on a lathe and it will be so much simpler if I don’t have to press it in and out.
The best tools to use for this are a bench grinder with a decent grinding wheel and a dremel with standing drums, 120 grit work just fine. Bearings always have what is typically a press fit, which mean the outside diameter of the bearing is very slightly larger than the hole they fit into, usually 0.0005-0.001″. Same for the inside. So you can see you don’t need to remove much material at all, but it works better if you remove an even amount all around. Use the dremel to sand the inside of the bearing by making circular motions with the sanding drum held as close to square in the bearing as possible. You don’t want to cut the ID (inside diameter) in a cone or oval shape so just work the drum around in a smooth clockwise circle so the drum turns into the motion. This keeps the sanding drum from pulling itself forward and losing control. Sand for about 30 seconds or so and then try to drop the bearing onto the shaft. You want the fit to be a slip type fit, that means it slides on with no force but does not move, no wiggle. You should be able to slid it on and off the shaft with little effort, if you drop it down and it gets stuck take a little more off. This should only take a couple of minutes to get right.

Grinding the outside is simpler. If the bearing still rotates makes this very easy. Turn on the bench grinder and then hold the inside of the bearing and press it against the grinder face at about a 20 to 30 degree angle. If you hold the bearing aligned with the grinding wheel then it will just turn the bearing outside at the speed of the wheel and not remove any material. If you turn to too far then it won’t rotate the bearing and you grind flat spots on the bearing, wasting time and making harder to get round again. If you hold it at a slight angle the bearing will turn but at a lower speed than the grinder and it will remove material at the same time
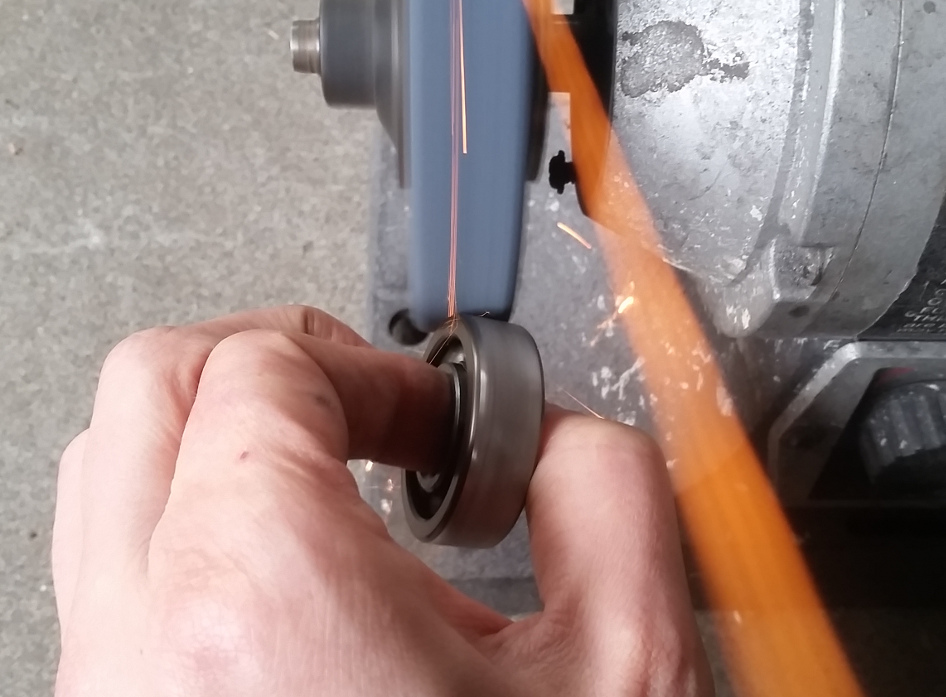
Now move the bearing left and right to the extents of the grinder face. If done correctly you will get a smooth and very circular grind on the outside of the bearing. Every 10-20 seconds or so test to see if the bearing fits in the case. Again, you know it’s done when the bearing falls in with no slop in the fit but easy to remove.
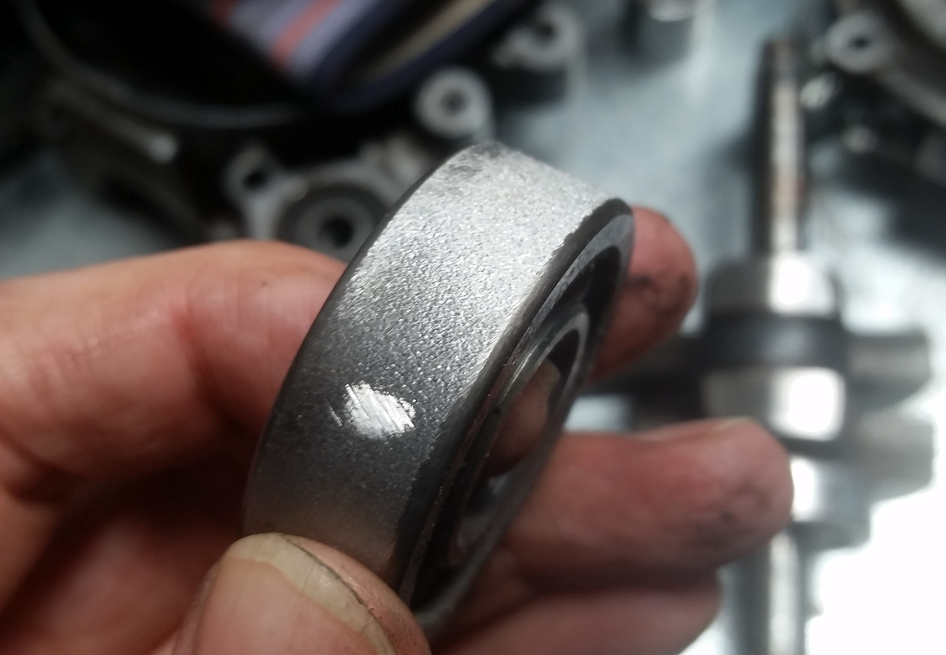
Be sure to clean the now complete dummy bearings up so all the grinding dust does not make it into your new parts as you test fit. And it’s really as simple as that. I usually keep a set of dummy bearings around for each standard motor I work on. They are very helpful for motors like ZA50 or V1’s that have a lot of shims to sort out or actual end play setting to fit correctly. In my example I was fitting a crank into a different case so it’s nice to be able to test the fitment of the crank without having to press the parts in and out every time. These are also really useful for showing someone how to build a motor without having to go through the extra work of installing press fit bearings while showing how parts fit together. These are really nice for setting end play on shafts since it lets the shafts move so you can actually measure the end play without a lot of work. Anyways you get the idea. I hope it helps you the next time you are trying to figure out if you can skip using the case gasket with hondabond or set the main bearing end play.
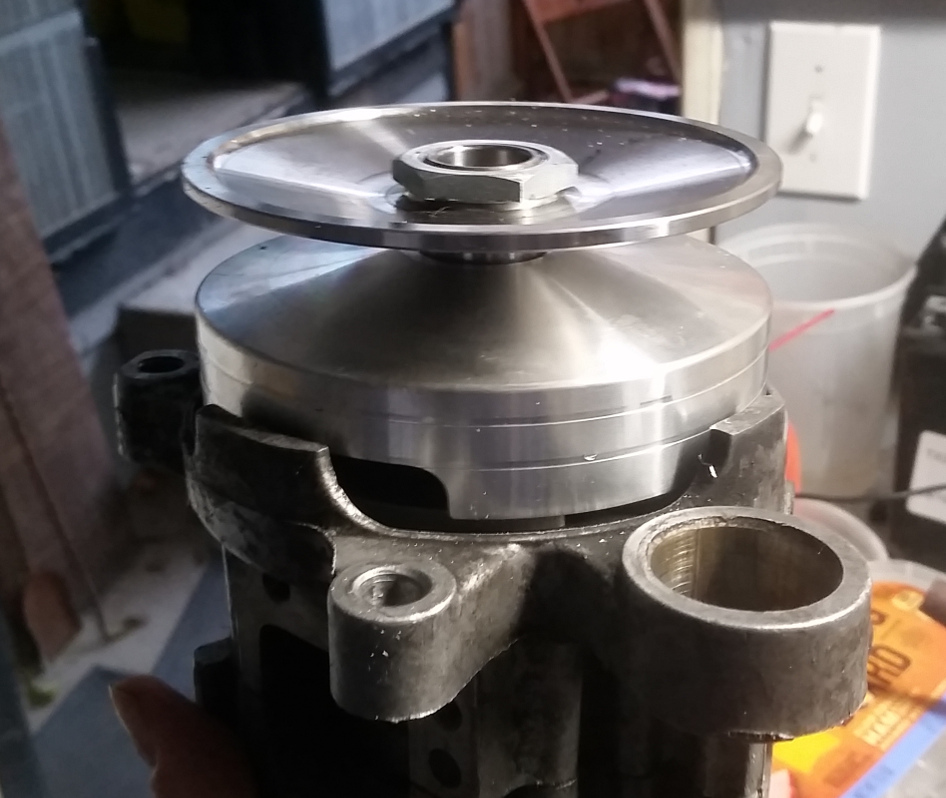
Oh and yea, I did figure out how to fit the multivar, and that’ll be another article one day.